Check Your Wedding Dress Before Buying – The zip and the buttons decide whether your gown behaves on the day — and both fail quietly on boutique samples. Here is exactly what to check before you pay.
Somewhere between “this is the one” and the deposit clearing, there is a five-minute window that almost no bride uses. It is the window in which you can still walk the gown over to the window light, turn the bodice inside out, and inspect the two small components that will decide whether your dress behaves on the day — the zip and the buttons.
In more than twenty-five years of bridal alterations here in Toowoomba, I can tell you that the gowns arriving at my studio in genuine distress — the ones that come in three weeks out with a bride close to tears — almost always carry a fault that was already present on the day the dress was bought. Not a fault the boutique concealed. Just a fault nobody thought to look for.
Wedding dresses are not like other clothing. A boutique sample has been pulled on and off, clipped, hoisted and re-zipped by dozens of different bodies, often by a stylist standing behind you working quickly at an awkward angle. That is a great deal of mechanical stress on hardware that was never engineered for it. This guide walks you through exactly what to check, why it matters, and what it costs you if you miss it.
Start Here: The Fitting-Room Inspection
Do this while you are still in the boutique, still in the dress, and still able to say “before I sign anything, could we look at something?” A good bridal consultant will not blink — they check these things themselves.
Before you say yes to the dress
The Ten-Point Pre-Purchase Check
Tap each line as you check it. Nothing is saved — this is simply here so you can keep your place while you are standing in the mirror.
Found something? That is good news. A fault identified in the boutique is the shop’s problem. A fault identified at your first fitting is yours.
1. Damaged Zips
The zip is the single most load-bearing component in a fitted bridal bodice. It holds a structured, boned, sometimes quite heavy garment closed against real tension across the ribcage — and it does it for eight to twelve hours while you hug two hundred people.
What the number on a zip actually means
Zips are sized by a number: #3, #5, #8 and so on. That number is the approximate width of the closed chain in millimetres. A No. 3 zip has teeth roughly 3 mm across; a No. 5 is roughly 5 mm. The larger the number, the wider the teeth, the heavier the slider, and the more lateral pull the closure will take before it lets go.
You can usually find the size stamped on the flat underside of the slider — a “3”, a “5”, or something like “5C” where the C denotes a coil chain. If the slider is unmarked, close the zip, lay it flat without stretching, and measure straight across the teeth in millimetres. The nearest standard size is your answer. Measure the teeth, not the tape.
No. 3 vs No. 5 — What Changes in a Bridal Bodice
Nominal figures. Exact dimensions vary slightly between manufacturers and chain types.
| Gauge | Closed chain | Character | Where it belongs on a gown |
|---|---|---|---|
| No. 3 | ≈ 3 mm Tape ≈ 25 mm | Fine, flexible, discreet. Lower tensile strength. | Unstructured or lightweight gowns, linings, sleeve plackets, side seams on soft silhouettes. Also the only gauge in which true invisible zips are commonly made. |
| No. 5 | ≈ 5 mm Tape ≈ 32 mm | Noticeably stronger chain, heavier slider, better resistance to lateral pull. | Structured and boned bodices, corseted backs, heavy beaded or satin gowns, anything with real tension across the bust and waist. |
Why so many bridal gowns arrive with a No. 3
Many wedding dresses are manufactured with a No. 3 zip. It is fine, it disappears beautifully under a lapped seam or a beaded placket, and on a soft, unstructured gown it is entirely appropriate. The trouble begins when a No. 3 is asked to hold a boned bodice closed across a bust that has been engineered to lift and shape. The chain is simply not built for that load — and in a boutique, that load is applied over and over again by every bride who tries the sample on.
The test that matters most. Ask the consultant to close the zip slowly and watch the point where the bodice joins the waist seam. That junction is where seam allowances stack up, where boning channels terminate, and where the greatest sideways force is applied to the chain.
If you — or the salesperson — struggle at that point, or the slider has to be worked back and forth to get past it, take that seriously. In my experience that dress will more than likely need a new zip fitted before the wedding, and in most cases the correct remedy is to step up to a No. 5.
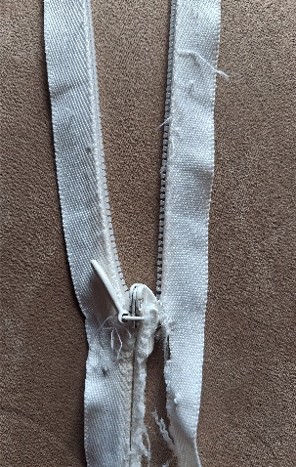
What a failing zip looks like
Read the warning signs
Stop and ask questions
- The slider needs to be worked back and forth to pass the waist
- Teeth spring apart behind the slider as it closes
- Visible fraying, shredding or puckering on the woven tape
- Loose, broken or doubled-back stitching along the zip seam
- A missing or bent bottom stop
- The pull tab is bent, detached or replaced with a paperclip or ribbon
- The chain no longer sits flat and ripples along its length
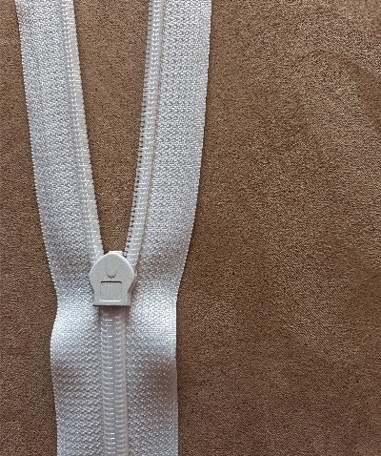
Healthy and ready to fit
- One smooth, continuous travel from bottom stop to top
- Chain lies flat and closed with no gaps or ripples
- Tape is crisp, clean and square to the seam
- Stitching is even, single-pass and unbroken
- Both stops present and firmly set
- Slider is stamped, undamaged and locks when released
- Gauge is appropriate for the weight of the gown
What a zip replacement actually involves
Brides sometimes assume a zip is a ten-minute job. On a bridal bodice it is not. Replacing a zip properly usually means unpicking the lining, releasing the boning channels either side of the opening, removing the old chain without marking the outer fabric, easing out any beading or lace that overlaps the seam, setting the new chain dead straight so the back seam does not bow, re-securing the boning, and hand-finishing the lining back down. On a beaded or lace gown, the beading along the seam allowance frequently has to be unpicked by hand and reapplied afterwards.
It is entirely doable and it produces a superb result. But it is skilled, unhurried work — which is precisely why you want to know about it when you are choosing the dress, not when you are four weeks out.
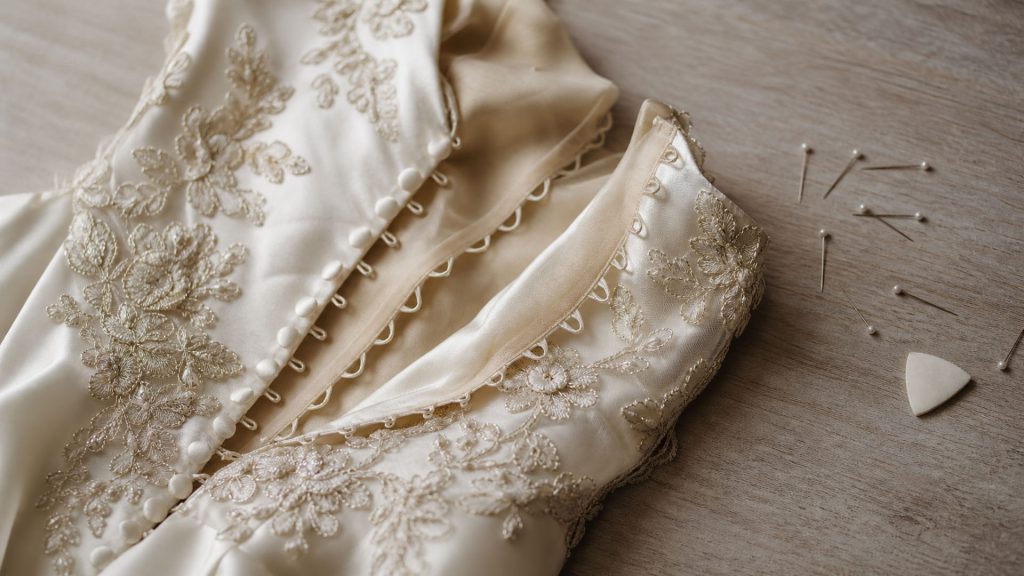
2. Damaged Buttons
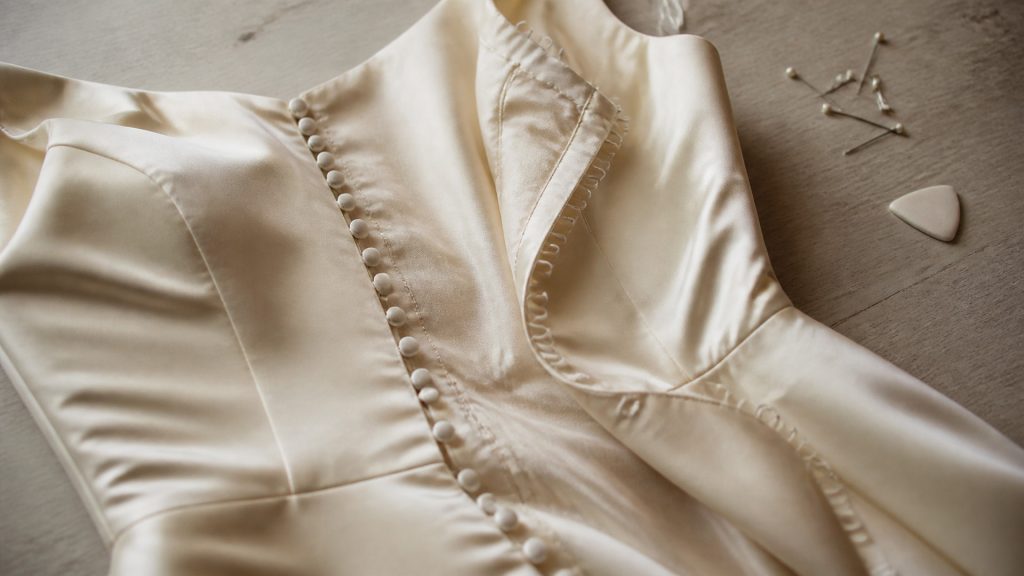
After you have tried the dress on, test the buttons. Do not just look at them — handle them.
A bridal button is usually a small metal or plastic dome covered in the gown’s own fabric, with a shank on the reverse: a short loop or bar that the thread passes through to attach the button to the dress. The shank exists to lift the button slightly off the fabric so a loop can pass underneath it and sit flat. It is a small, thin component doing a job that involves being repeatedly hooked, tugged and levered.
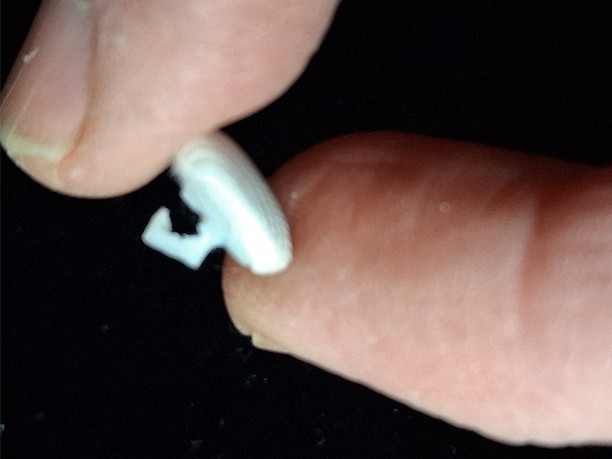
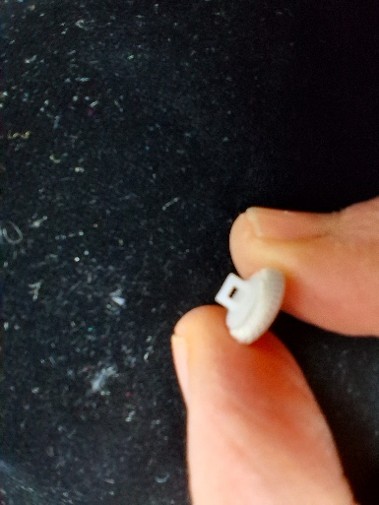
Why a broken shank cannot simply be re-sewn
When the shank fails, there is nothing left to stitch through. You can sometimes get a broken button to sit convincingly for a few minutes — long enough to survive a fitting — but it will not hold up to a loop being pulled over it forty times on a wedding morning. The correct repair is replacement with a button built on a stronger shank.
There is a related trap worth knowing about. Some covered buttons are made on a thin wire shank; a common complaint among dressmakers is that wire-shank buttons do not sit flat enough against the fabric, particularly on a fine silk or crepe back. Canvas-backed or moulded-shank buttons generally sit better and last longer. If your buttons need replacing anyway, it is worth asking your dressmaker to specify the sturdier type rather than simply matching what was there.
The envelope of spare buttons
Your dress should arrive with at least three spare buttons, supplied in a small envelope. Check that yours has them. Ask at the point of purchase, not at collection — and if the envelope is missing, have the boutique note on your order that spares are to be supplied.
Three is a floor, not a target. Consider the arithmetic: with non-elastic rouleau loops, a button-back gown typically carries around two buttons per inch of opening; with elastic loops, roughly one per inch. A 45 cm button run can therefore easily hold thirty to sixty buttons. If two are lost on the dance floor and one is crushed in the car, three spares is exactly enough and not one more.
Spares matter for another reason. Covered buttons are made from the gown’s own fabric, dyed in a specific lot. Ivory is not ivory — there is champagne, candlelight, diamond white, oyster. Matching a covered button after the fact means either sourcing the original fabric or cannibalising a hidden seam allowance from the dress itself. An envelope of three costs the boutique almost nothing and can save your dressmaker an afternoon.
Loops fail too
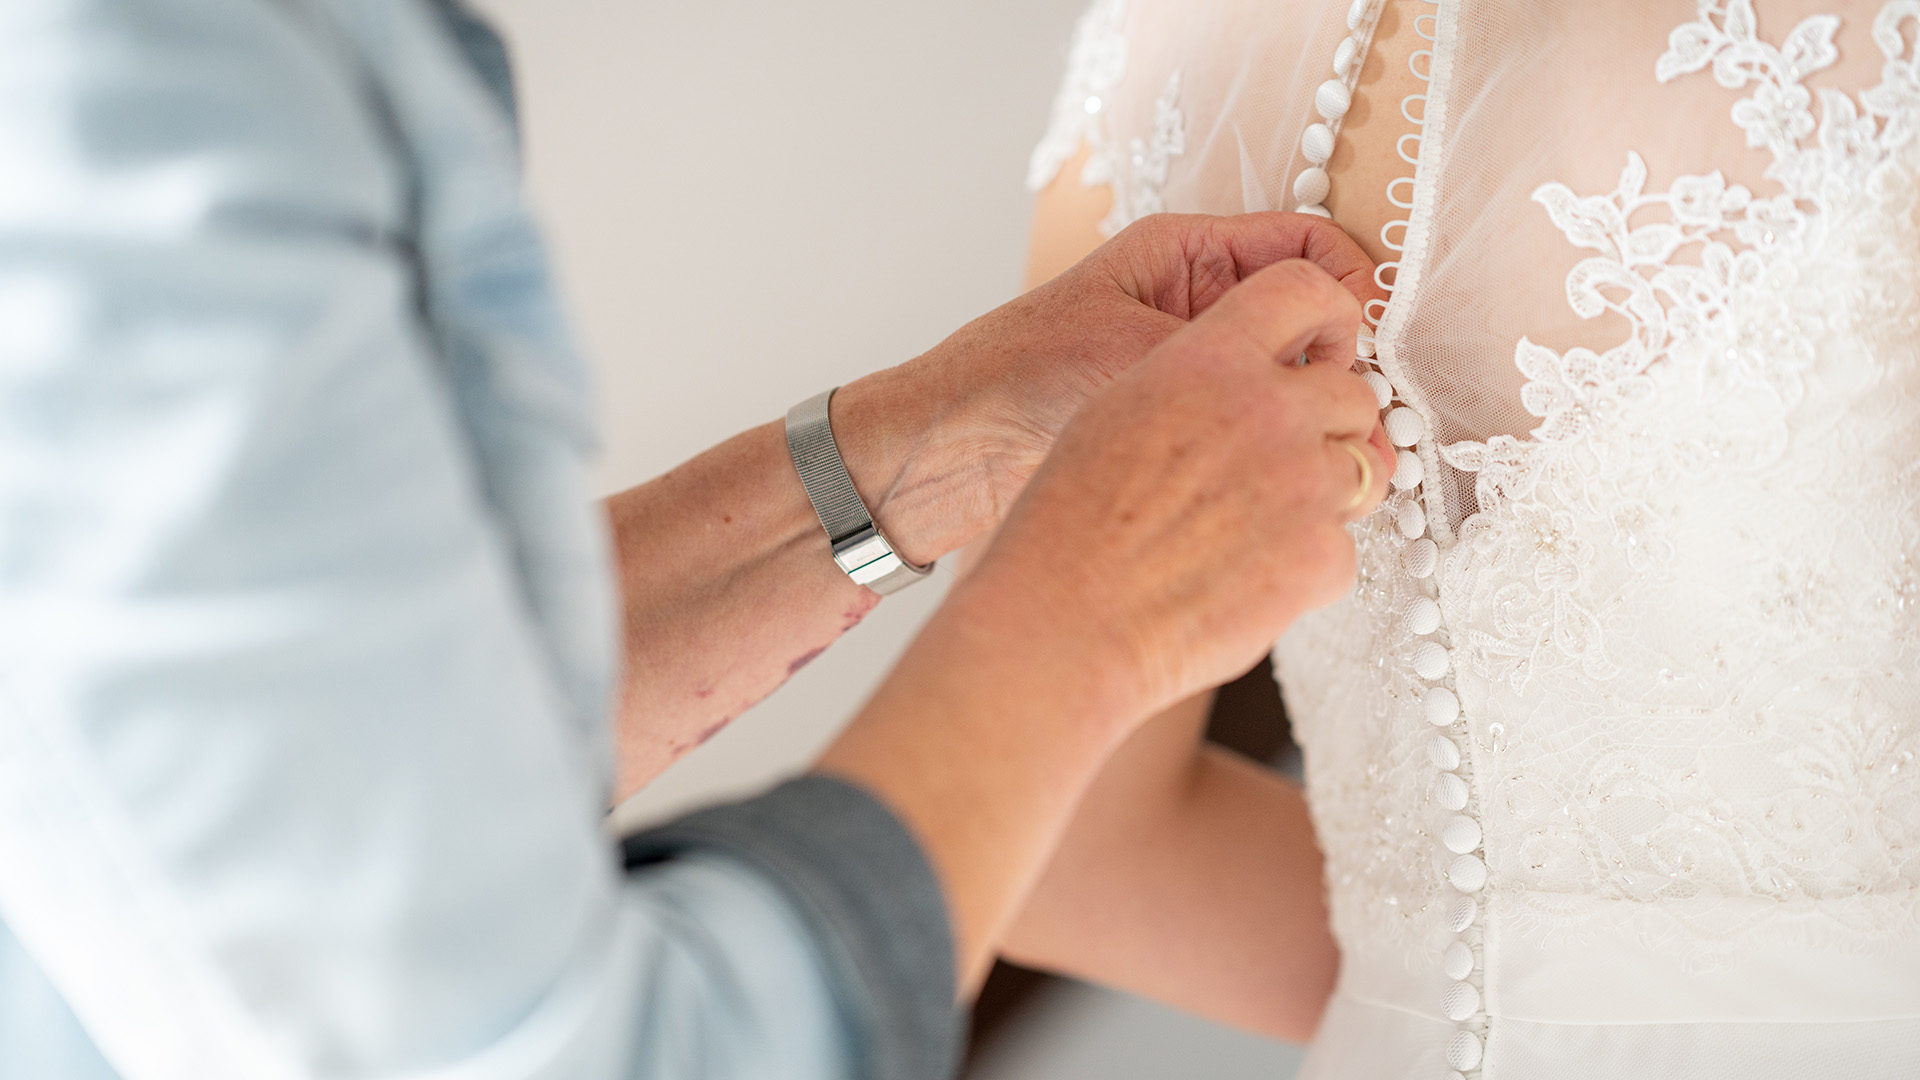
The buttons are only half the closure. On a genuine button-back gown, the buttons pass through loops — either rouleau (rolled fabric tube) or elastic braid. Both stretch with repeated use, and on a boutique sample they have almost certainly been stretched.
Slack loops mean a back that gapes between buttons and refuses to sit as a clean line. New loops can be fitted, but on a gown where the loop tape is caught into a bound edge it can mean opening and re-binding the entire back edge. Test them: a loop should require a gentle, deliberate pull to pass over the button, not fall over it.
A practical tip for the day. Whether your buttons are functional or purely decorative over a zip, put a small crochet hook in your bridal emergency kit and hand it to whoever is dressing you. Fingers — particularly ones with fresh manicures — are clumsy against fine loops. A 1.5 mm hook turns a twenty-minute struggle into a three-minute job, and it dramatically reduces the chance of a shank being snapped on the morning itself.
3. What Else to Check While You Are In There
Zips and buttons are the two faults that most often turn into emergencies, but while you have the gown in your hands there are five more things worth thirty seconds each.
The Rest of the Inspection
Particularly important if you are buying a boutique sample or an off-the-rack gown.
| Check | What to look for | Why it matters |
|---|---|---|
| The hemline | Grey scuffing, snagged tulle, trodden lace, horsehair braid lifting away from the hem edge. | Sample gowns are worn over shop carpet without shoes. Some marking cleans; ground-in grey on ivory silk often does not. |
| Boning | Bones that have twisted, migrated out of their channels, or press visibly against the outer fabric. | A displaced bone distorts the whole bodice line and will fight every fit adjustment made afterwards. |
| Beading & lace | Missing beads, loose sequins, pulled threads, appliqué lifting at the edges. | Beadwork is often chain-stitched — one broken thread can unzip a whole run. Matching discontinued beading is difficult. |
| Underarms & neckline | Yellowing, foundation transfer, deodorant marking, perspiration shadowing on the lining. | Very common on samples. Ask directly whether the gown will be professionally cleaned before handover, and get the answer written down. |
| Bustle points | Existing loops or buttons from a previous bustle, and whether the train has been marked where they sat. | Not a fault in itself — but your dressmaker needs to know they are there before designing your bustle. |
Your Rights as an Australian Buyer
This part is worth understanding, because it is the reason the inspection matters so much.
Under the Australian Consumer Law, products sold to you must be of acceptable quality, must match their description or the sample you were shown, and must be fit for purpose. These are called consumer guarantees, they apply automatically, and a business cannot remove them with terms and conditions. The ACCC has been explicit that signs reading “no refunds” or “no refunds or exchanges on sale items” are unlawful because they imply you have no rights at all — and the regulator has specifically used a broken zip on a dress as its example of a faulty garment.
But there is a catch, and it is the whole point of this article. Consumer guarantees generally do not help you where you were told about the fault before you bought, or where you examined the goods before buying and failed to notice an obvious defect. Sample gowns and clearance racks are very often sold on exactly that basis. If a boutique tells you the dress is a sample and may carry wear, and you buy it anyway, you have knowingly accepted that condition.
So do two things. First, inspect properly — because an obvious defect you could have found is a defect you may have to live with. Second, write it down. If you find a fault and the boutique agrees to repair it, replace the component, or discount the gown, have that noted on the order form and initialled before you pay. A verbal assurance from a consultant who has left the business by October is worth very little.
General information only, not legal advice. For your own rights and remedies, see the ACCC’s guide to consumer rights and guarantees.
Where This Fits in Your Timeline
Faults found early are inexpensive and unremarkable. Faults found late are expensive and stressful. Here is roughly how the run-up should look.
Day of purchase
Run the ten-point check. Have any fault, and any agreed remedy, written onto the order form before payment.
Collection day
Inspect again in the boutique before you take the gown home — zip, buttons, spare-button envelope, hemline, cleaning. Do not accept the bag until you have looked.
8 to 12 weeks before the wedding
First fitting. This is where structural work — zip replacement, button and loop replacement, bodice reshaping — is identified and scheduled. Bring your shoes and the underwear you intend to wear.
4 to 6 weeks before
Second fitting. Refinement of the fit, hem length confirmed, bustle designed and fitted.
1 to 2 weeks before
Final fitting. Everything checked as a whole, with the person who will dress you present so they can practise the closure.
Structural repairs need to happen at the front of that sequence, not the back. A zip replaced at the first fitting is a straightforward job. A zip discovered at the final fitting is a scramble — and it can force decisions about the fit that you would never otherwise have made.
Frequently Asked Questions
How do I tell what size zip my wedding dress has?
Look at the flat underside of the slider. Most zips carry the gauge stamped there — a “3”, a “5”, or a number-letter combination such as “5C” where C indicates a coil chain. If nothing is marked, close the zip, lay it flat without stretching the tape, and measure straight across the closed teeth in millimetres. The nearest standard size is your zip size. Measure the teeth themselves, not the woven tape either side.
Do I have to replace a No. 3 zip with a No. 5?
Not always. On a soft, unstructured gown a No. 3 is perfectly appropriate and a like-for-like replacement is the right call. The step up to a No. 5 is warranted where the bodice is boned or corseted, where the gown is heavy with satin or beading, or where the original No. 3 has already failed once under load. Your dressmaker will assess it against the weight and structure of your particular dress.
Will a heavier zip be visible in the back of my dress?
Set correctly, no. A No. 5 chain is about two millimetres wider than a No. 3 — the difference is real in terms of strength but negligible in terms of appearance once the zip sits under a lapped seam or a beaded placket. Where the original was a true invisible zip the conversation is slightly different, since invisible zips are generally only manufactured in the finer gauges, and your dressmaker will talk you through the options for that specific back.
How many spare buttons should my wedding dress come with?
At least three, supplied in a small envelope. Ask for them at the point of purchase and check they are in the bag at collection. Covered buttons are made from the gown’s own fabric in a specific dye lot, so matching one after the fact is far harder than it sounds — it usually means sourcing the original fabric or taking it from a hidden seam allowance inside the dress.
Can a broken button shank be repaired?
No. Once the shank has split there is nothing left to stitch through, and a button that has been coaxed back into position will not survive a loop being pulled over it repeatedly on the day. The correct fix is to replace it with a button built on a stronger shank — ideally a canvas-backed or moulded shank rather than a thin wire one, which tends not to sit flat against fine fabric.
The boutique says the dress is sold as-is. Do I still have rights?
Consumer guarantees under the Australian Consumer Law apply automatically and cannot be excluded by a business’s terms, so blanket “no refunds” signs are not lawful. However, the guarantees generally do not assist where you were told about a fault before buying, or where you inspected the goods and missed an obvious defect. That is precisely why a careful inspection — and a written note of anything you find — protects you far better than any policy sign. This is general information, not legal advice.
When should I book my wedding dress alterations?
Book the appointment as soon as you have a collection date — good bridal dressmakers fill their calendars months ahead, particularly through spring. Aim for a first fitting eight to twelve weeks before the wedding. That leaves room for structural work such as a zip or button replacement to be done unhurriedly, followed by a second fitting for refinement and a final fitting a week or two out.
Joanne Holland Designs — Toowoomba
Not sure whether that zip will make it to the aisle?
Bring the dress in. I will assess the zip, the buttons, the loops and the structure, and tell you honestly what needs doing and what does not — before it becomes urgent. Over twenty-five years of bridal alterations, and every gown treated as though it were the only one.